Mobilink facilitates direct peer-to-peer file transfers without requiring account registration or pre-uploading files to a server. This guide will walk you through the process of establishing a connection between the sender and recipient using QR code mode.
Step 1: Generate a QR Code
On a Mobile Device:
- Launch Mobilink:
- Open the Mobilink app on your mobile device.
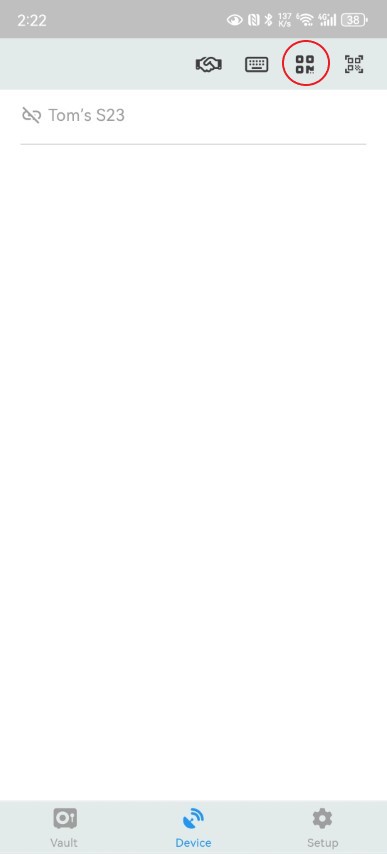
- Navigate to the Devices page.
- Generate the QR Code:
- Click the button circled in red located in the top toolbar.
- A dialog box will appear displaying the QR code.

On a Computer (Windows, Linux, or macOS):
- Launch Mobilink:
- Open the Mobilink application on your Windows, Linux, or macOS computer.
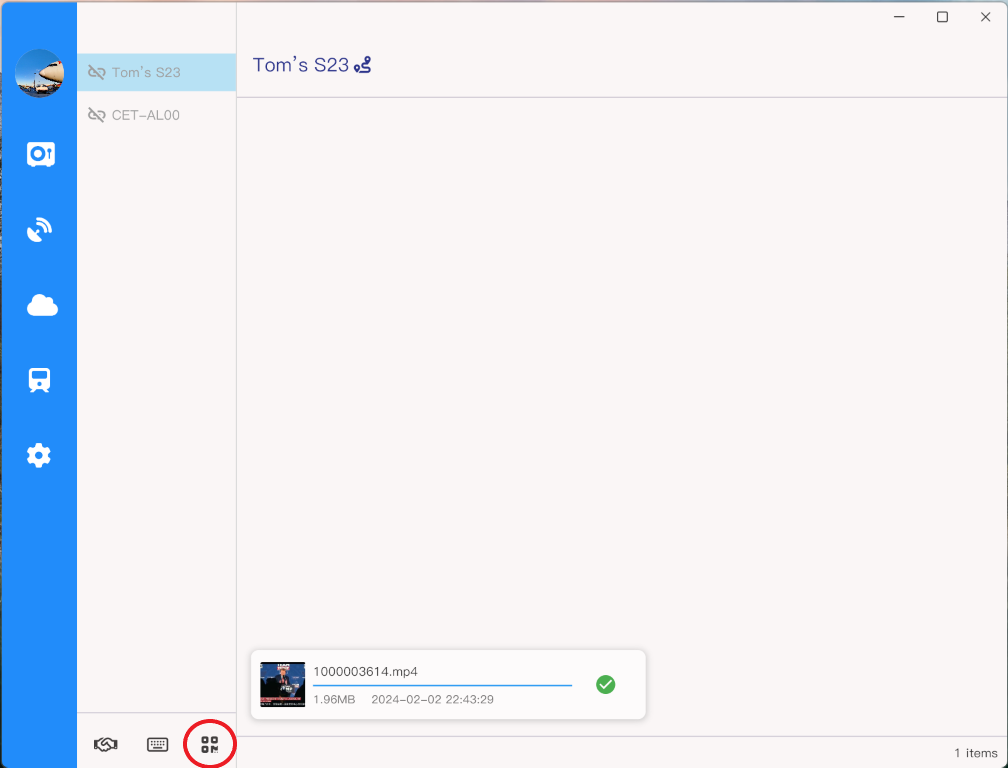
- Go to the Devices page.
- Generate the QR Code:
- Click the button circled in red located in the bottom toolbar.
- The QR code will be generated and displayed on your screen.

Step 2: Scan the QR Code
If the Recipient is Using a Computer:
- Scan the QR Code:
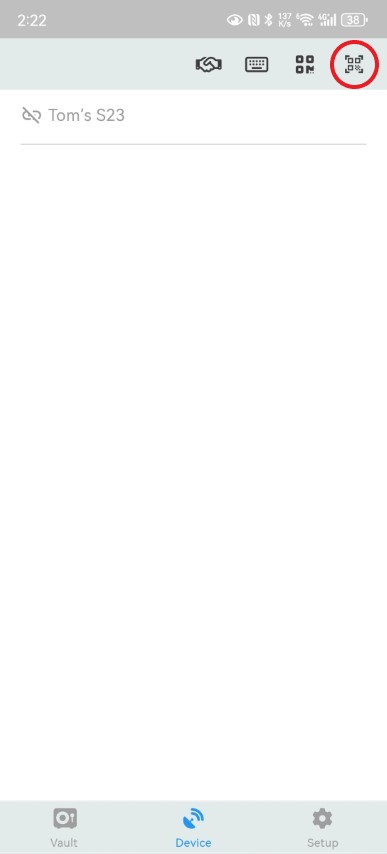
- If the recipient is using a computer and cannot scan QR codes directly, they should use a mobile phone to scan the QR code generated on the computer.
- Open the Mobilink app on the mobile phone, and click the button circled in red in the top toolbar to activate the QR code scanner.

2. Connect the Devices:
-
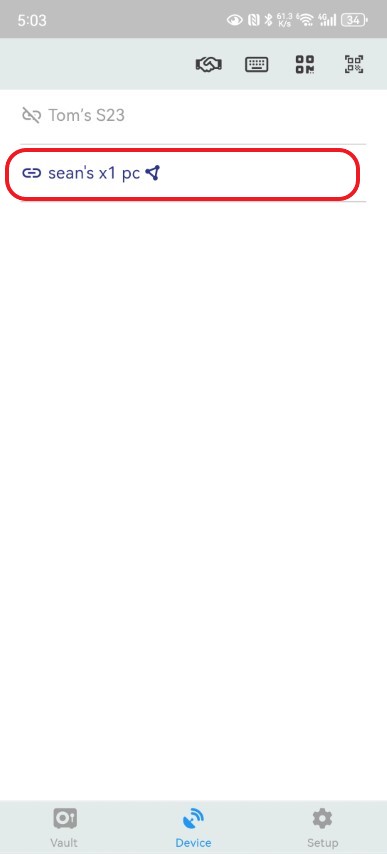
- Once the QR code is scanned successfully, the devices will attempt to establish a connection.
- In the device list, observe the color of the other party’s icon changing from gray to blue, indicating a successful connection.

Step 3: Transfer Files
- After successfully establishing a connection, both parties can now proceed to transfer files directly to each other.
This QR code mode ensures a secure and instant connection, allowing for a seamless file transfer experience between devices using Mobilink.